Come Funziona
Indirizzi Base
Area Comunicaz. Bios
Registri
Livello Hardware
Livello BIOS
Livello DOS
Tecniche d'Interruzione
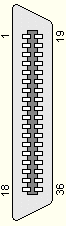
Connettori
Cavi
Interfaccia
Applicazioni Software
Download
INDICE